Gaining access to all of your files located on your Time Capsule from a remote location/connection is super easy through the use of iCloud and Back to My Mac. There a couple of things you need to configure on both your Mac and your Time Capsule to allow remote access:
Configure your Time Capsule
1. Open Airport Utility
2. Click on your Time Capsule and select Edit
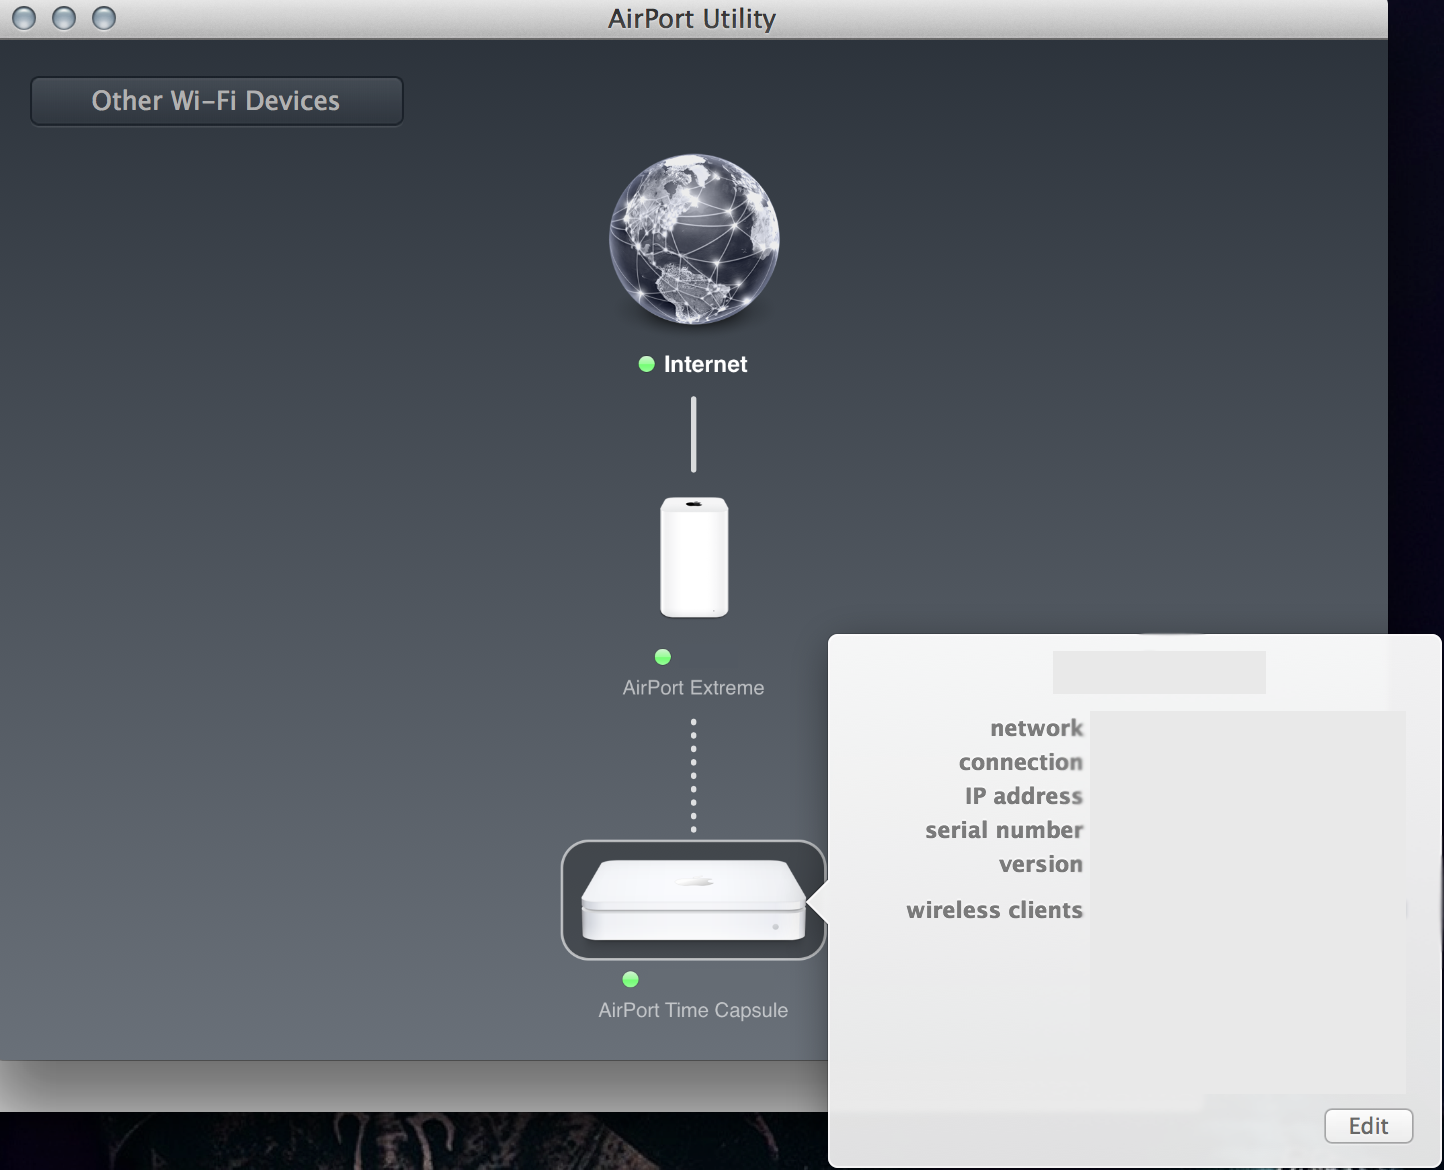
Click on your Time Capsule and then click on Edit
3. Make sure you are on the Base Station tab
4. Below you will see the Back to My Mac option to add your iCloud account
5. Click on the ‘+’ to add your iCloud account name and password and click on Sign In. It may take a minute to activate your account.

Set up your iCloud account here.
6. If you see a green indicator next to your account, everything is okay and we’re ready to move onto the next step. If you’re seeing a red indicator, activation failed. Make sure you have an active internet connection and you are entering the correct iCloud account info.
7. On the Disks tab, make sure that Enable File Sharing is checked (enabled). This option will already be set if you have access to your Time Capsule’s data on your local network.
8. Click on update to set all the changes you’ve just made.
Configure OSX
1. Open System Preferences
2. Click on iCloud
3. Place a check mark beside the Back to My Mac option and wait for it to activate.
Now, if everything went smoothly, you should be able to see your Time Capsule pop up under Shared Devices in a Finder window both locally and on a remote connection! You’ll be asked for the password to the Time Capsule to view its contents.